Sinker EDM vs. Wire EDM for Mold Cavity and Core Work
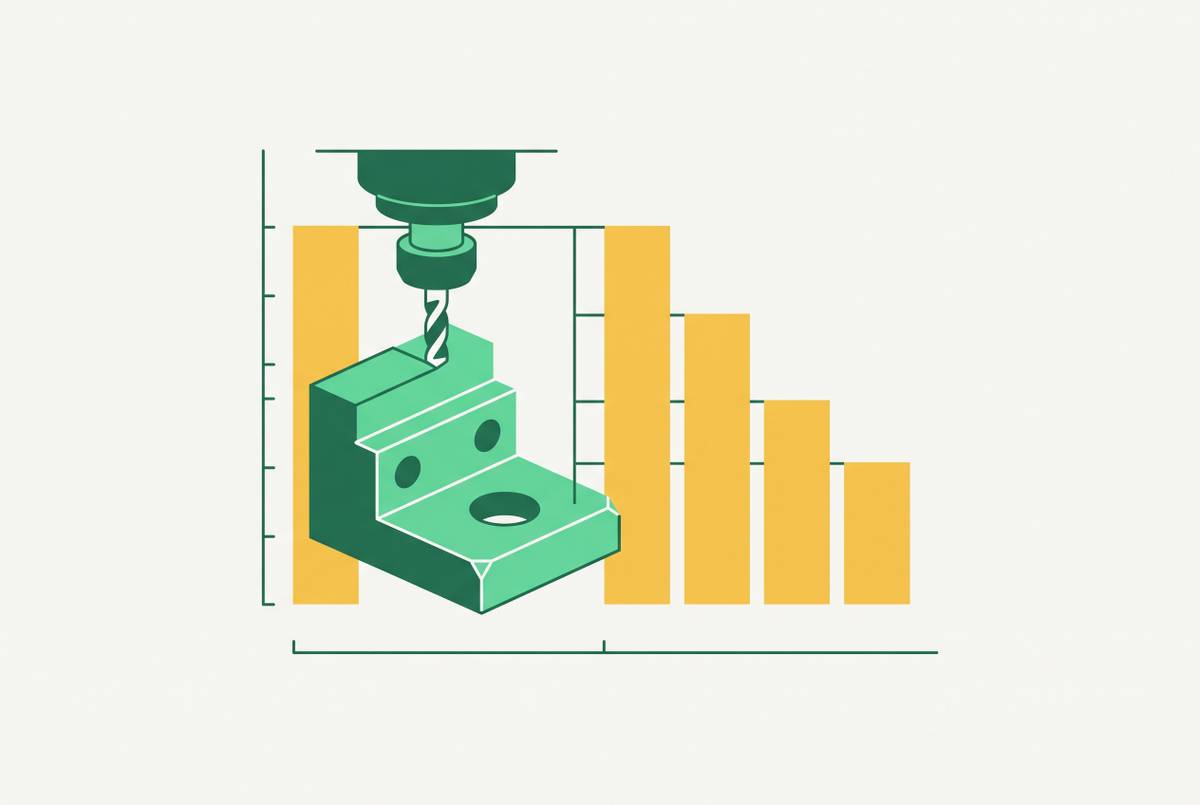
Sinker EDM handles blind cavities.
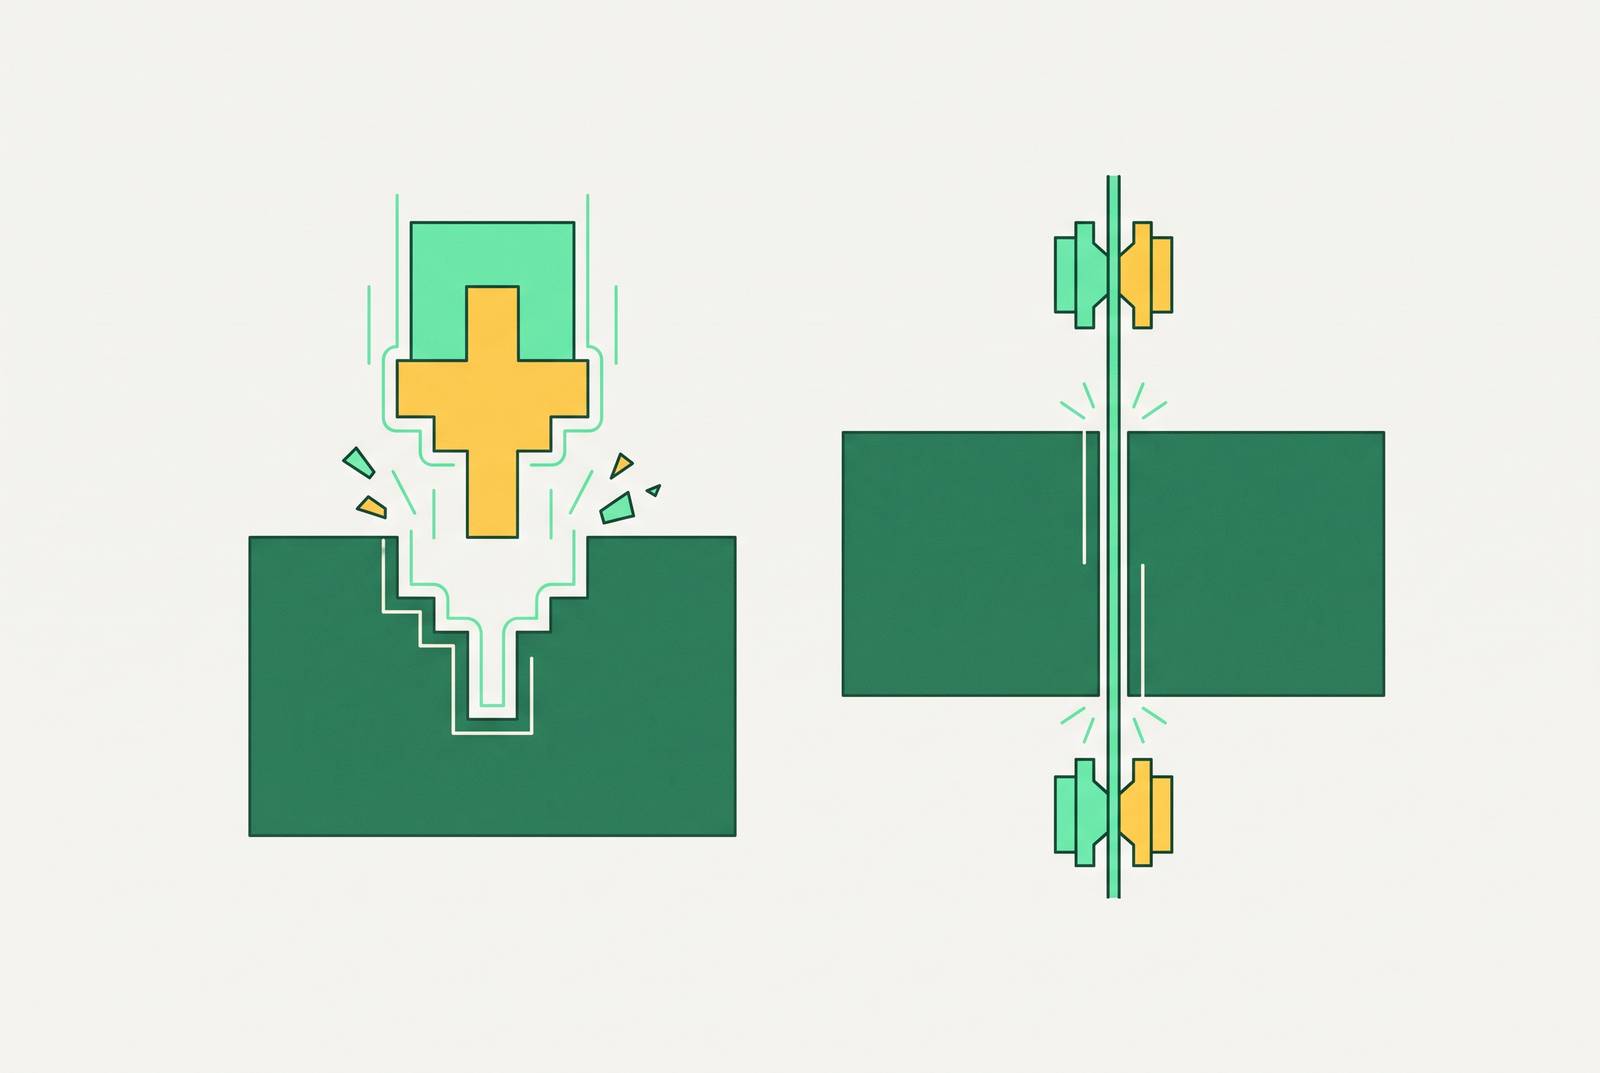
Sinker EDM and wire EDM solve two completely different problems in mold building, and treating them as interchangeable is where most planning mistakes start. One burns a shaped electrode into steel to form a blind cavity; the other threads a traveling wire through material to cut a profile clean through. A typical injection mold needs both, at different stages, for different features. Get the split wrong and you either over-engineer the tooling or end up redoing work that never needed EDM in the first place.
The geometry divide that determines which process applies
Before cost, before tolerance, before anything else: geometry decides which process you use. That's the first filter, and it's not a soft one.
Sinker EDM owns blind features. Cavities, pockets, recesses, anything that doesn't open through the back of the workpiece. Deep ribs with narrow width, sharp internal corners, textured cavity floors, gate geometry, boss impressions. Basically any feature a cutting tool can't reach without deflecting or snapping.
Wire EDM owns through-geometry. Anything the wire can enter, travel across, and exit the other side of. Ejector pin holes, slide guide slots, insert pockets cut from plates that are already through-hardened, parting-surface profiles. It also handles tapered through-profiles, since the wire can run at an angle, which makes it the right call for lifter pockets and draft on inserts.
The line between the two is sharp. Wire EDM cannot produce a blind cavity, full stop. Sinker EDM, meanwhile, is the wrong tool for long through-profiles that wire cuts faster and with better accuracy. The quick gut check: if you can push a wire straight through a feature, wire EDM applies. If the feature closes at the bottom, you're in sinker territory.
There's a gray zone: shallow through-pockets, where either process could technically do the job. In that case, wire EDM usually wins on speed and needs no custom tooling. Sinker EDM gets saved for the jobs only it can finish.
Where sinker EDM earns its place in the mold: cavities, ribs, and texture
Sinker EDM does the heavy lifting on the core and cavity impressions, the main 3D surfaces that define the molded part's interior and exterior. But its real value shows up on features milling can't touch.
Deep, narrow ribs are the classic case. Once depth-to-width climbs past roughly 3:1, sinker EDM becomes the reliable choice over milling. Sharp internal corners tighter than R0.5mm tell the same story: end mills can't hold that geometry without a real risk of breaking. Blind gate and runner channels cut directly into steel fall into this bucket too, along with logo and part-marking geometry burned straight into the cavity face.
Then there's texture. Sinker EDM applies VDI 3400 spark-eroded finishes directly in the cavity by dialing in discharge energy, which cuts out a separate texturing step entirely.
Servo control is what makes all of this workable: it holds a precise gap between electrode and workpiece through the entire burn, which is how complex 3D geometry gets produced in fully hardened steel without drifting off dimension. And hardened steel isn't a problem here, it's actually the point. EDM is usually done after heat treatment, which protects the final geometry from the distortion that heat treating can cause.
None of this makes sinker EDM a general-purpose roughing method. Material removal is slow, measured in cubic millimeters per minute, so the process gets reserved for geometry that genuinely can't be milled, not used as a shortcut around it.
Where wire EDM earns its place in the mold: parting surfaces, slides, and insert pockets
Wire EDM's job list reads differently. Ejector pin hole patterns get cut through hardened plates to exact location and diameter. Slide and lifter guide slots, which need tight positional accuracy across the parting plane, come from wire EDM almost by default. Insert pockets get wire-cut into plates that are already through-hardened, which skips the old workflow of machining soft steel and hardening it afterward. Parting line profiles on complex shut-off surfaces, core pins, and small punch profiles cut from bar stock round out the list.
The big practical edge here: no custom tooling. Standard brass wire, one CNC program per profile, and you're running. Hardness barely matters either, cutting through-hardened tool steel isn't meaingfully slower than cutting soft steel, which is a sharp contrast to milling, where hardness kills tool life and feed rate.
Feed rate on profile work is fast relative to sinker EDM, and complex profiles through thick plates often finish in a single setup. Wire EDM machines also carry U/V axis control, letting the wire run at an angle to cut draft directly into a pocket or lifter profile. Sinker EDM can't match that without building a tapered electrode specifically for the job.
Tolerance and surface finish: what each process can reliably hold
Wire EDM holds tighter numbers than sinker EDM, and that's consistent across the industry. Routine wire EDM tolerance sits around ±0.001mm, with top-tier machines under controlled conditions reaching ±0.0005mm. Sinker EDM runs looser, around ±0.005mm, which is still well inside what most injection mold cavity and core work actually needs.
That gap doesn't make sinker EDM the weaker process. It reflects what each one is built to cut. A 3D cavity carrying a VDI texture spec has no use for ±0.001mm precision; a slide guide slot does.
Surface finish on sinker EDM comes straight from discharge energy settings. Roughing passes clear material fast, then finishing and semi-finishing passes bring Ra down step by step. VDI 3400 grades, from VDI 12 (fine matte) up through VDI 45 (coarse texture), get dialed in by adjusting those burn parameters, and that VDI language is exactly how mold designers call out spark-eroded texture on a drawing. True mirror finishes need copper electrodes run at slow finish settings; graphite can't get there.
Wire EDM gets its finish from skim passes, multiple light passes run after the primary cut that knock down roughness step by step. The final Ra can land right alongside fine sinker EDM finishing.
The specification rule that follows from all this: call out VDI grade on sinker-processed cavity surfaces, call out dimensional tolerance class on wire-cut features, and never cross the two.
Electrode selection and fabrication for sinker EDM cavity work
Wire EDM needs no custom tooling. Sinker EDM needs a precision electrode built for every single burn geometry. That's the central planning gap between the two processes, and it's where sinker EDM jobs pick up cost and lead time that wire EDM simply doesn't carry.
Graphite dominates in North American shops, accounting for the overwhelming majority of electrodes in use, because it machines fast, removes material at a high rate, and holds up thermally on large, deep cavities. It's the default for general mold roughing on tool steels and aluminum. Copper takes over when the job calls for a high-gloss SPI finish, internal radii under 0.1mm, or fine logo detail, since its grain structure gets to a lower Ra than graphite can reach. Copper-tungsten is the answer for carbide, Inconel, and other exotic alloys, where graphite wears too fast to hold geometry.
How the electrode gets made matters just as much as what it's made from. High-speed milling on graphite produces strong pre-EDM surface finish and cuts down on bench work. Grinding handles copper and copper-tungsten electrodes where geometric tolerance is critical. Polishing cleans up residual machining marks on copper electrodes headed for a mirror-finish burn.
Before any of that electrode touches the workpiece, it gets checked: datum integrity on the holder base to ±0.005mm, critical burn faces within ±0.01mm of compensated CAD, zero visible chipping on graphite edges at 10x magnification, corner radii under R0.15mm with no localized washout, and vertical rib taper under 0.02mm per 25mm of depth.
None of this is free. A simple graphite shape might take half an hour to machine; a complex 3D cavity electrode can eat 2 to 8 hours. Electrode cost alone often runs 30 to 50% of the total sinker EDM job, which is not a line item to gloss over in a budget. Add the fabrication lead time, and it stacks days onto the schedule, something that has to get baked into the mold build timeline early, especially on fast-turn prototype work.
Corner wear is the most common quality headache in rib and cavity work. Shops manage it with high-density electrode grades, staged burns, and a dedicated corner-clean finisher electrode that handles the last small fraction of depth.
DFM decisions that determine whether a feature needs EDM at all
DFM at the design stage exists to flag EDM-dependent features early, while there's still time to plan electrodes, schedule wire cuts, and pick the right steel. Catching this after the mold is half-machined is expensive.
Certain features almost always require sinker EDM. Internal corners tighter than R0.5mm are a near-automatic trigger, since end mills can't hold that geometry without a real breakage risk. Rib depth-to-width above 3:1 is another, because tool deflection and finish quality make milling impractical at that ratio. Blind pockets with toleranced flat bottoms in hardened steel, and any cavity carrying a VDI texture callout, both land in the same category, since sinker EDM produces the texture in the same operation that burns the shape.
Wire EDM has its own trigger list: ejector hole patterns in hardened plates (cut after hardening to avoid distortion from post-hardening machining), slide and lifter profiles that need tight positional accuracy across the parting plane, and insert pockets that have to match a precision insert within wire EDM's tolerance range.
Not every feature that looks like an EDM job actually is one. Shallow pockets with corners above R0.5mm are usually faster and cheaper with a ball end mill. Through-holes in soft, pre-hardened steel are often better handled with gun drilling or conventional boring before hardening, which skips wire EDM entirely.
Wall thickness discipline on the molded part itself feeds straight back into this. Abrupt thickness transitions create thick sections that force deep, narrow ribs into the core, and those ribs almost always trigger sinker EDM. Smoothing those transitions during part design can cut down the number of features that need EDM at all. The most useful habit here: share preliminary CAD with the manufacturing partner before tolerances lock in. Electrode design and wire cut planning tend to surface DFM problems while they're still cheap to fix.
Mold steel selection and how it affects EDM planning
EDM works on hardened steel, which is one of its biggest advantages over milling, but the specific grade still shapes burn behavior, electrode wear, and how fine a finish you can reach.
P20, pre-hardened to roughly 30-32 HRC, machines easily and burns cleanly with sinker EDM. It's a solid fit for prototype and low-volume tooling, generally under about 100,000 shots, but it can't hold a high-gloss polish without grain inconsistencies showing up, so SPI A-grade finish is off the table on P20.
H13, typically hardened after rough machining to 46-52 HRC, is the standard for high-volume and abrasive-resin molds. EDM after hardening keeps the final dimensions locked in, and sinker EDM on fully hardened H13 is routine, not exceptional.
S136, a stainless grade at 48-52 HRC, is required for corrosive resins like PVC and POM, and it's the safe choice for optical or medical cavity work. It's fully EDM-compatible, just slower to burn than the tool steels above.
Wire EDM barely cares about hardness at all, cutting hardened tool steel without the significant speed and tool-life penalties that hardness imposes on milling, which is exactly why ejector plates and slide rails routinely get wire-cut after hardening rather than before. For sinker EDM, electrode material should match the workpiece: copper-tungsten for carbide and exotic alloys, graphite for the common tool steels.
One supply chain note worth planning around: stocking P20 and H13 in standard sizes avoids mid-project delays, while S136 or D2 should trigger procurement early, since availability swings more and import delays can stall an EDM schedule fast.
How sinker and wire EDM fit into a complete mold
A finished mold carries the fingerprints of both processes, and neither one substitutes for the other. Sinker EDM shapes the core and cavity impressions, the deep ribs, the textured surfaces, the blind gate geometry, the features that define what the molded part actually looks like. Wire EDM cuts the ejector patterns, the slide and lifter slots, the insert pockets, the profiles that let the mold open, close, and eject cleanly, shot after shot.
The sequencing matters as much as the process choice. Sinker EDM on cavity steel typically happens after hardening, since the servo-controlled burn won't distort dimensions the way heat treatment can. Wire EDM on ejector plates and slide components also tends to run post-hardening, for the same reason, cutting hardened steel costs wire EDM nothing in speed.
Planning both into the schedule from the start, rather than discovering mid-build that a feature needs an electrode nobody designed yet, is what separates a mold program that ships on time from one that doesn't. Geometry decides the process. The schedule has to respect that decision from day one, not react to it after the steel is already on the machine.